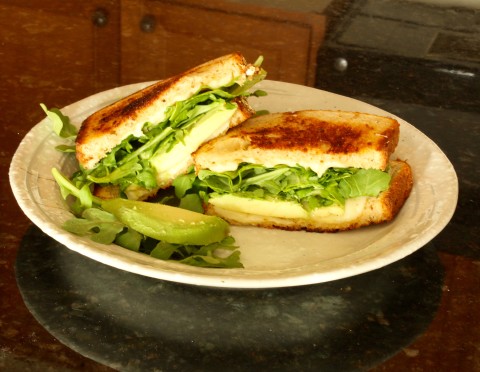
AAA Grilled Cheese Sandwich
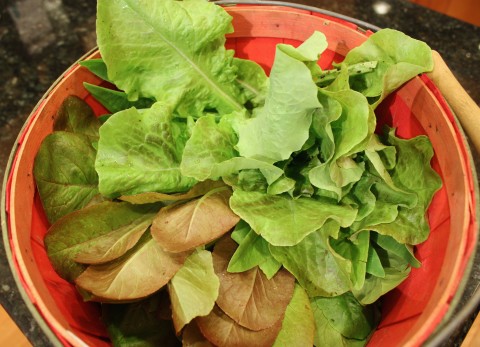
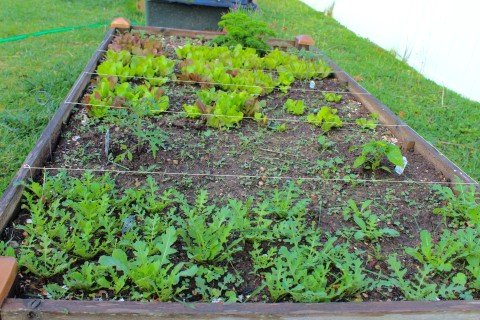
Over the last five years I’ve grown some great crops in my three-style garden. I have my raised beds, all five of them, four Earth Boxes, and a strip of dirt along the fence that separates our neighbors driveway and ours. It’s the raised beds that jump into action first into the new growing season and the crop is mostly greens. I usually plant 8-12 kinds of greens and they do well in the cooler spring weather in planting zone 7 where I live. With an abundance of Arugula last year the AAA Grilled Cheese Sandwich was born.
Once the greens get going I have more than my wife and I can eat so I give away plenty. I also look to use them in new ways. When salads weren’t enough to use up the Arugula I started piling it on sandwiches bursting with green goodness. While the AAA Grilled Cheese Sandwich is no low-fat sandwich, I find it a great lunch item to have once or twice during the few short weeks my Arugula crop is putting forth gobs of great greens. Arugula is full of vitamins and minerals as well as fiber. So whatever the fat content of this sandwich is would be offset, somewhat, by the health benefits of Arugula.
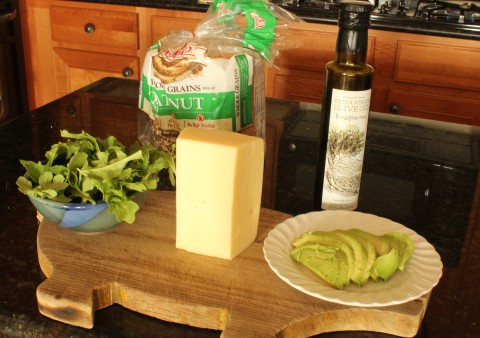
It’s simple as can be to make with just five ingredients, Arugula, avocado, Asiago cheese, oil or butter for the grilling, and whatever your favorite bread is. Just follow this easy recipe and enjoy one of the best greens out there.
2 slices of sandwich bread for each sandwich
2 teaspoons olive oil or butter for each sandwich
2 slices Asiago, or your favorite cheese
½ sliced avocado for each sandwich
1 handful of arugula for each sandwich
Brush olive oil on one side of each slice of bread and cook, oil side down with cheese on top, on medium heat in a cast iron skillet, or similar frying pan. In 3 minutes rotate bread 180 degrees to achieve even browning and cook for 3-4 minutes or until nicely browned.
Top with arugula and avocado, close it up and cut in half if desired before gobbling it up like it was the best sandwich ever!
Note: If you toss the arugula in a bowl with a bit of Italian Dressing, before piling it on the sandwich, it packs even more flavor.
A slice or two of fresh tomato would be great with this sandwich. Problem is they have distinctly different growing seasons and are usually not available at the same time in home gardens.
Wounded Digit
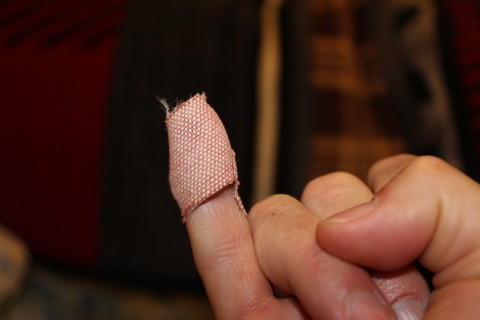
In my twenty years of professional cooking I had great knife skills. While other cooks I worked with cut themselves on average about once per year I had a once every four years average, and the cuts were never serious. When I cut myself last night on my Oxo mandoline I burst out in a short string of obscenities. My little finger on my right hand apparently was not paying attention to the razor sharp blade that was slicing cabbage like a paper shredder. It was a real attention getter and hurt plenty while bleeding according to the laws that say, “When you cut out a chunk of flesh, you will bleed profusely!”
Of course it happened towards the beginning of dinner prep making the rest of the meal a challenge to prepare. There was zucchini to cut into bite sized cubes, sans fingers. There were onions to chop and eggplant to slice. It was all quite hindered by the creeping thought of, “You will do it again if you are not careful!” from that little voice that is supposed to protect us. This little voice however was just irritating me on this occasion. Dinner prep did get done, albeit much slower than usual. The paper napkin that I wrapped my bleeding finger in needed a replacement soon. I went upstairs for a bandage and was again reminded of the diabolical minds that package bandages in those impossible to open wrappings. They probably do tests with a hidden camera on volunteers who cut themselves then try to open a bandage packaged by maniacs while the test observers are laughing their collective asses off behind oneway glass.
For the next hour I tried my best to keep the poor little pinkie elevated to slow the bleeding and throbbing having thoughts of where was that protective mandoline guide that would have saved my finger the pain and my mind the turmoil? Then it occurred to me that I would have an interesting couple of days ahead as I engaged in my travel/food writing at the computer. It’s not enough that the bandage gets in the way but the cut is toward the tip of my finger making typing as smooth as a soccer player kicking a ball with a foot in a cast. It can be done, but it hurts and doesn’t go so well.
I always like to look on the bright side of things and it occurred to me that with this cut I now have four years of cut-free chopping, slicing and dicing ahead if history is any indicator. To avoid any knife work over the next couple days while my finger heals I could just go out to eat or cook heat-and-eat foods…yuk! When it comes to typing I will just have to blunder through the pain and discomfort hoping for a speedy recovery.
There is a lesson to this mistake that says; “Those who don’t use proper protection shall type hindered for days and shall type badly.” So my friends take care of thy digits and don’t be stupid when handling sharp objects while preparing dinner or you will type like meeeeeeeee.
4 States, 4 Days, 2 Brothers
Goodbye FastandFuriousCook.com?
A Farewell to Blogging
When the bill came for blog hosting I was in shock! How could I justify paying $359.64 on a blog that has made less than $100 since it was started in November 2012? That doesn’t include the upcoming bill in December for email subscriber services for around $150. I have enjoyed developing recipes and writing about good and healthy foods for this last thirty-three months but the writing is on the wall. In a month or two I’ll probably shut it down and move on to travel/food writing as a freelancer.
Before that fateful day comes I’ll continue to post when the spirit moves me and my schedule allows. It takes four to five hours to put a blog post together, and I’m amazed at the women bloggers I have met that juggle kids, home and blogging. If you have enjoyed the recipes and writing I am glad for that. I am also glad to have discovered my love for writing and am grateful for this blog showing me that path.
Please help yourself to the recipes while they are still available. Looking back here are some of my favorites you might want to try.
In the soup category the winners are:
Royal Trumpet Soup
http://www.fastandfuriouscook.com/supper-club/
Gazpacho
http://www.fastandfuriouscook.com/visitors/
Mushroom Chowder
http://www.fastandfuriouscook.com/392/
In the main dishes section the winners are:
Aztec Slow Cooker Turkey
http://www.fastandfuriouscook.com/aztec-slow-cooker-turkey/
Salmon Rice Bowl
http://www.fastandfuriouscook.com/salmon-rice-bowl/
Grilled Portabella Sandwich
http://www.fastandfuriouscook.com/grilled-portabella-sandwich/
One Pan Wonder-Shrimp Fried Rice
http://www.fastandfuriouscook.com/one-pan-wonder-dish/
Lamb and Mushroom Stew
http://www.fastandfuriouscook.com/lamb-mushroom-stew/
Okay, after all that looking back I am getting hungry! Time to go upstairs and fix a fast and furious lunch with some corn tortillas and feta cheese that need to get used up. It is possible some miracle could happen and I get the assignments us bloggers hope for and I’ll keep it going, but don’t hold your breath. I hope you all continue to visit and comment on my blog over the next several posts before the end. Look for my posting once per week if time, and inspiration allows. Until then, eat well and treat your fellow mankind well too.
Grandma’s Green Beans
A Farm to Table Story
I was lucky to grow up with an appreciation for fresh produce from farms and gardens. My grandparents in St Louis, Missouri taught me much about where food comes from. My grandfather, even though full-time employed with the St Louis Water Division, kept a garden in the back yard where I was introduced to veggie gardening. He grew a few tomatoes, okra, and string beans, but later on in life a friend of his gave him about a quarter of an acre on the edge of a large cornfield to grow a real vegetable garden.
In this large garden he grew tons of tomatoes, green beans, bell peppers, squash, okra, and corn. The summer of 1970 found me banished from my home and sent to Cleveland then St Louis where my parents thought my relatives would straighten my rebel fifteen year old self out. In St Louis I helped grandpa with the garden and would help grandma can green beans for their winter supply. She also canned corn, okra and tomatoes. I learned a lot from them that summer such as, four vegetable dishes on the supper table was just about the right amount, and that a troublesome fifteen year old can just about go through a wooden fence when tossed by a pissed off Grandpa. I also learned that leftover green beans or okra was just as good as the day before.
This was the real deal Farm-to-Table existence long before the current movement took hold. They didn’t know any other way as both of them grew up on farms. Yes they could have bought many of their vegetables from grocery stores back then but I think they knew the best flavor was to be found in veggies they knew the source from which they came. These were tomatoes with a rich sweet taste that smacked of the ground they grew in. That wonderful dark, almost fluffy soil made for some of the best vegetables I have ever tasted. The hot humid climate was perfect for the veggies grandpa chose to grow there, especially the tomatoes.
Twice a week during my extended stay in St Louis grandpa and I would go to the farm to weed, and harvest the crops. It was there that I truly learned what a good tomato tastes like. It would be a typical 90° day with high humidity and grandpa would call me over to the tomato patch he was working on. Then he would take out his razor sharp pocket knife and cut two large ripe tomatoes from the vine. In his other pocket he brought a salt shaker and after the red orb was cut in half would sprinkle his tomato with salt and eat it right on the spot with juice running down his chin. I would follow his lead and it was on that spot I learned that this was what a tomato was supposed to taste like. During tomato season almost every meal was supplemented by a plate of sliced tomatoes. Now that’s good eating!
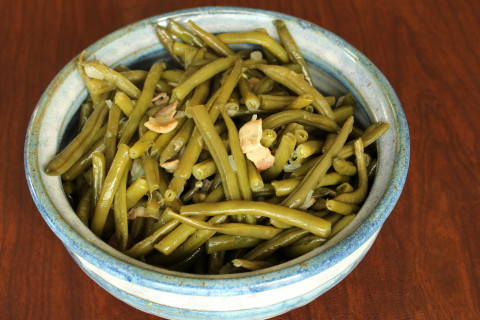
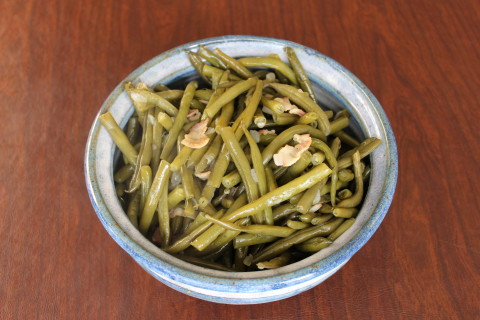
Grandma served her special Grandma’s Green Beans recipe at least once per week and I never tired of it, but I did tire of cutting green beans. She would cook bacon, onion and green beans that would be at home in any Farm-to-Table restaurant. There were no herbs needed to flavor this heirloom veggie dish. The flavor was carried by the top quality green beans, onions and bacon. It was a memorable trip to St Louis that I have strong memories from, mostly good ones.
Try this recipe yourself and see if you agree it is one of the best veggie dishes ever. Just be sure and make the whole batch because the leftovers are good for 2-3 days after and heat up in a jiffy. If you can’t get good fresh green beans frozen will do, but use the best Applewood bacon you can get your hands on.
Here’s to good healthy eating. Enjoy!
Grandma’s Green Beans
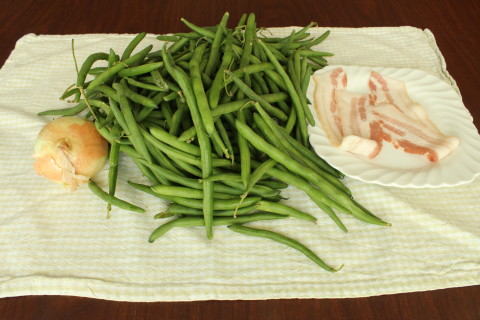
1 pound fresh or frozen green beans
½ cup yellow onion, chopped
2 slices of bacon cut into ½ inch pieces
½ teaspoon oil
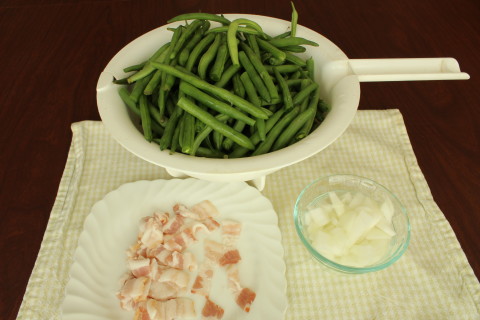
If using fresh green beans wash and then trim the stem end off. Cut to about four inch lengths for easier stirring in the pot.
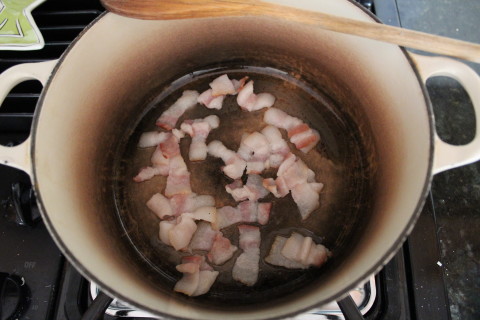
In a 3 ½ quart to 4 ½ Le Cruset™ or similar heavy type of cooking pot with lid add oil and bacon cooking on medium heat for 3 minutes stirring every 30 seconds or so.
Add onions and cook on medium low heat stirring often for 5 minutes.
Drain the oil and bacon grease and add green beans plus a quarter cup of water and continue cooking without stirring for 5 minutes covered on medium low.
Stir and continue cooking on medium low heat covered for five minutes covered.*
At this point you can let it cook for another 10 minutes before uncovering, adding salt and fresh ground pepper to taste and stirring. If it is dry on the bottom of the pot add a bit more water-2 tablespoons should do.
Now the beans have been cooking for 20 minutes and are either close or will need about 10 more minutes depending on the size and tenderness of the beans. Taste one to see if it needs more cooking time, or seasoning.
Serves 4-6
Note:
It’s okay if the beans come to the top of the pot as in 10-15 minutes they will shrink considerably.
Halibut Ceviche
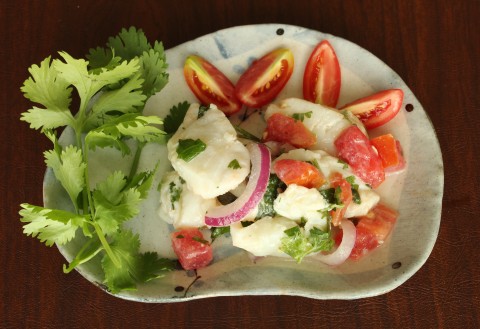
Halibut Ceviche
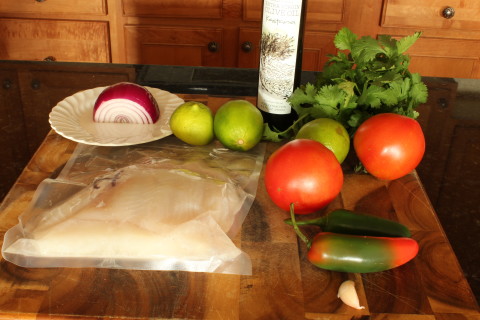
1 pound halibut filet
1/2 cup lime juice
1/2 cup chopped or sliced red onion
1-2 fresh jalapeños sliced thin
1 small clove of garlic minced
1 1/2 tablespoons extra virgin olive oil
1 cup chopped cilantro
1 1/2 cup diced tomatoes
1 -1 1/2 teaspoons kosher salt
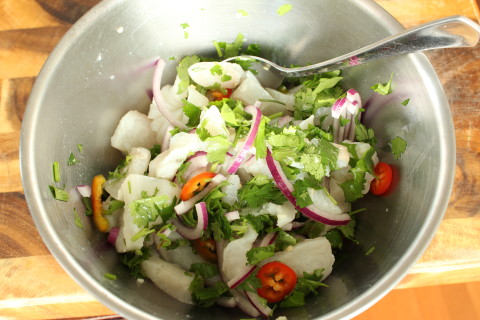
Cut halibut in pieces 1 1/2 inch long by 3/8 inch thick and however high that particular filet is.
Put lime juice, jalapeños, olive oil and garlic in a medium sized mixing bowl and mix briefly.
Add halibut, onion and cilantro and mix.
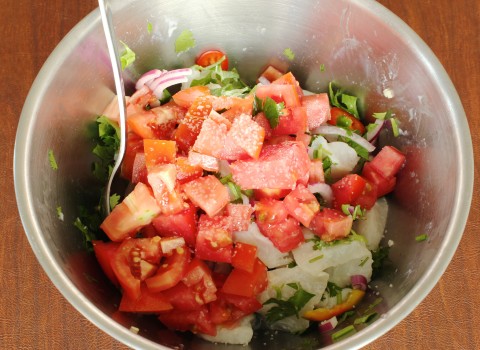
Add tomatoes and salt mixing gently to not break up the tomatoes.
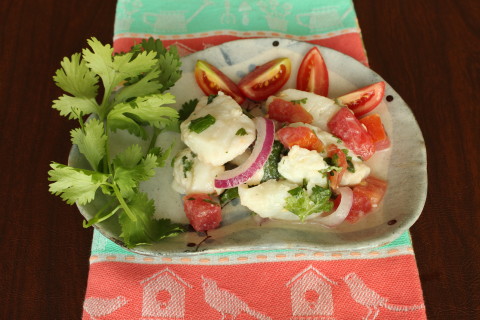
Store in fridge covered for 24-36 hours mixing three times about every 8-12 hours.
Serve with tortilla chips and sliced avocado garnished with fresh cilantro.
Serves 6-8
Halibut Tacos
Halibut Tacos
1 pound halibut, cut into bite size pieces
1 tablespoon oil, avocado or regular olive oil
1 tablespoon blackening spice or chili powder*
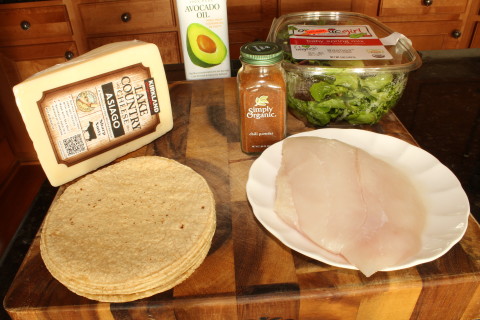
4 ounces shredded asiago cheese
4 ounces of salad greens, or arugula
8 taco shells, hard or soft
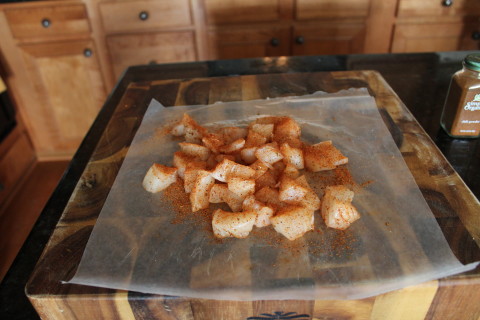
Spread halibut out on a large plate or sheet pan and dust with blackening spice.*
In a 10-12 inch saute pan heat oil on med-high heat just until it starts to smoke.
Add halibut and cook for 1-2 minutes before turning or stirring halibut. You want to get it cooked on all sides but don’t overcook it. After turning the halibut it only takes 2 minutes for it to be cooked.
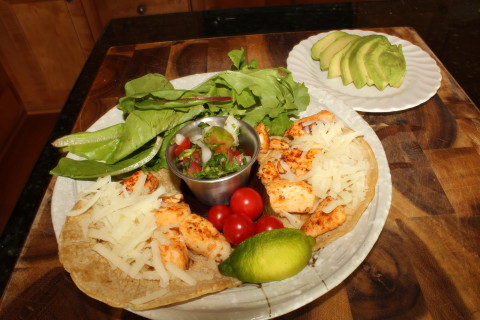
Add cooked halibut to taco shells and then add cheese. Cook under a broiler for 1 minute if you want the cheese melted. I just let the heat of the halibut warm the cheese.
Add greens and serve with a side of salsa, or pico de gallo.
Serves four.
If you are using frozen halibut it is usually quite wet and needs to be dried on paper towels before dusting with blackening spice.
You can use just about any commercially available blackening spice blend sold in grocery stores. If not available here is a simple recipe to make your own:
1 T salt
1 T chili powder
1 t dried oregano
1 T paprika
1-2 t cayenne pepper
1 T granulated garlic
1 t onion powder
1 t dried thyme
2 t ground black pepper
Mix all ingredients together and you have your very own blackening spice.
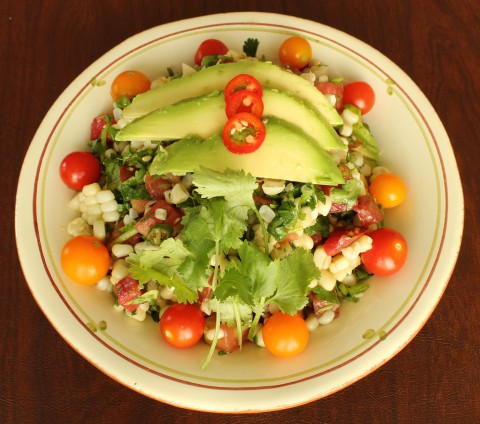
Corn, Tomato, and Avocado Salad
Corn, Tomato, and Avocado Salad
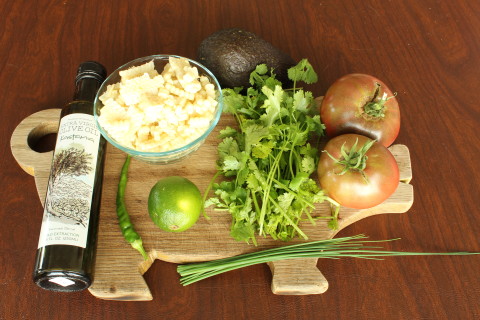
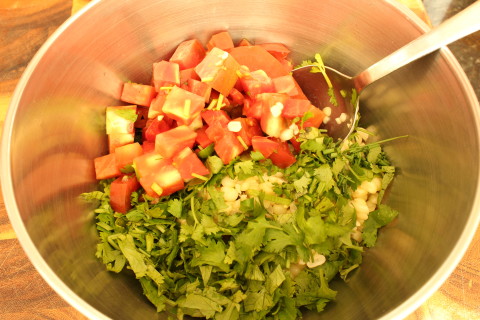
3 cups cooked corn
1 cup diced tomato
1 cup chopped fresh cilantro, or parsley
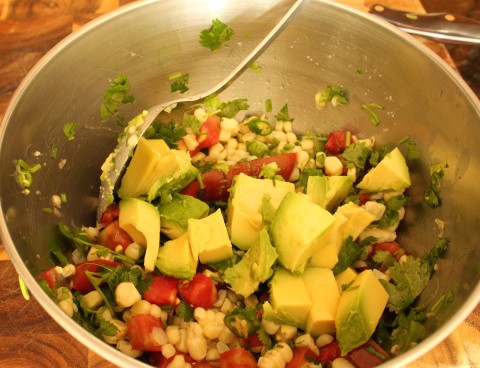
1 firm avocado cut into bite sized pieces, see note
2-3 tablespoons chopped chives or onion
juice of one lime, about 1-2 tablespoons
2 tablespoons extra virgin olive oil
1 jalapeño minced, optional
salt to taste
In a 4 quart mixing bowl mix all ingredients except avocado.
Gently mix in avocado.
Add salt to taste and serve right away or chill for an hour or two.
Serves four to six.
Note:
If your avocado is too soft it breaks down a bit much but you can still use it if you stir it in very gently.
Spicy Asian Slaw
Spicy Asian Slaw
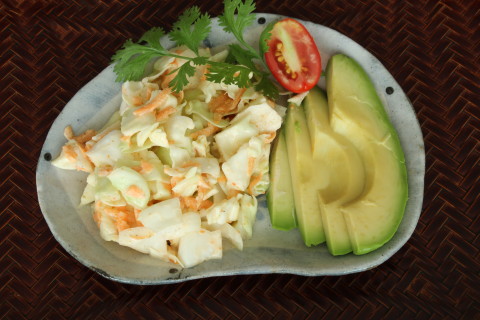
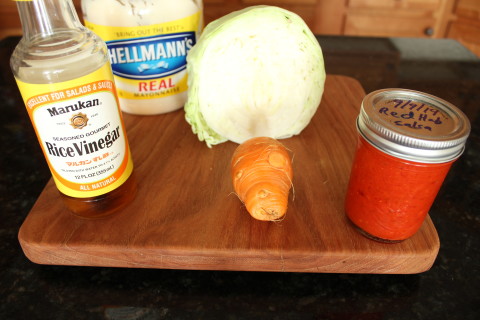
1 pound green cabbage
3/4 cup shredded carrot
1/3 cup mayonnaise
3-4 tablespoons rice vinegar, depending on how thin you want the dressing
1/2 teaspoon ground cumin,optional
1/2-1 teaspoon hot sauce, like Sri Racha etc.
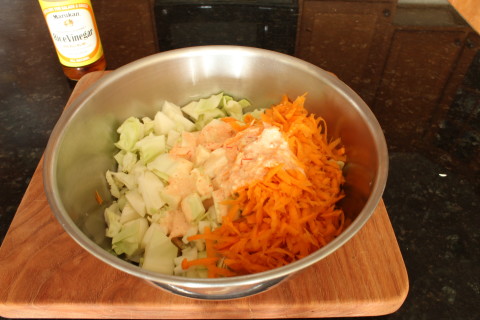
Chop or shred the cabbage and blend with carrot in a 2 quart mixing bowl.
To make dressing blend mayonnaise with vinegar, cumin and hot sauce in a small bowl.
Pour dressing over cabbage and carrot and mix well until cabbage and carrot is well coated.
Serve right away or chill for an hour or two.
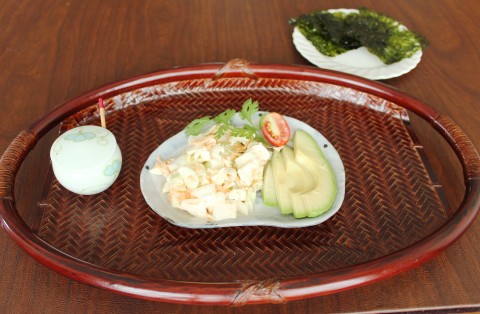
Serves 6-8
Pico de Gallo
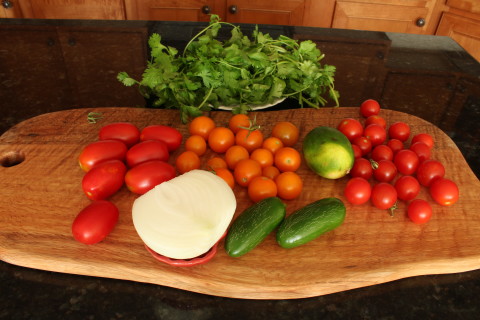
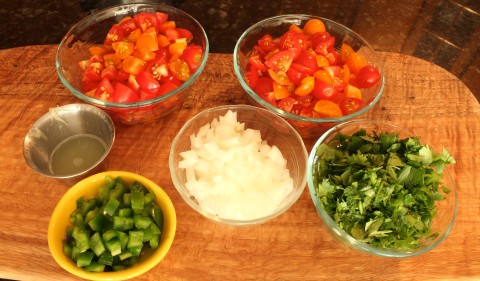
At a recent cooking class I conducted at Phillip’s Mushrooms in Kennett Square, Pennsylvania I made Maitake mushroom tacos topped with Pico de Gallo . I needed some kind of tomato component to go with the tacos and didn’t want to use typical salsa. I decided to make a Pico de Gallo and use tomatoes from my garden since I have so many this year. Instead of using regular tomatoes I used Sungold and Sweet Million cherry varieties that are known for their sweetness.
I also had a new heirloom variety named “Juliet” that is similar to a roma tomato but half the size. It looks like a roma and tastes similar too. What I really love about the Juliet is the amount of bright red tomatoes I pick every day from my one-and-only bush. It really puts out the fruit! Into the mix it went in my trial version with the usual chopped onion, jalapeno, cilantro and lime. It was outstanding. It lit up the Maitake tacos and paired well with the Asiago cheese I grated and melted over the mushroom layer. With fresh arugula on the next layer the Pico De Gallo made for a lovely looking taco that everyone loved.
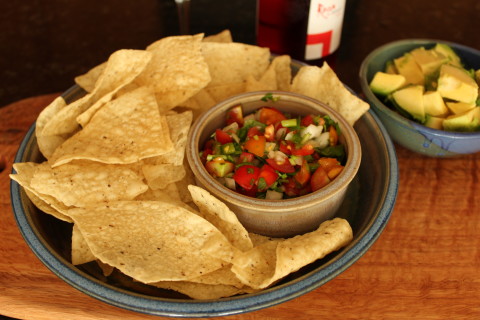
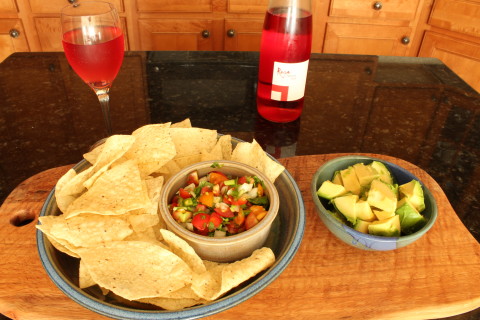
A few days after teaching the class I had some more tomatoes to use up and made a new batch the same way as the first. This time I served it with tortilla chips, avocados on the side and a glass of Spanish rosé. The sweetness of the cherry tomatoes made the Pico pair perfectly with the chips and wine. What a great summer appetizer spread it made.
You can probably buy the Sungolds and Sweet Million tomatoes at most any farmer’s market in the U.S or in a specialty grocery store. As for the Juliets, I think they are quite rare and you would need to use roma tomatoes. What sets this apart from other Pico de Gallo recipes is the sweet cherry tomatoes. If you can’t find the ones I used just get the sweetest ones you can find and it should turn out fine.
I believe this would be a great side dish for any Mexican type food whether it’s burritos, tacos, nachos or tostadas. Give it a try and please leave comments on how it turned out.
1 cup whole Sun Gold tomatoes
1 cup whole Sweet Million tomatoes
1 cup whole Juliet tomatoes, or roma tomatoes
1/2-3/4 cup yellow onion diced small
1 cup fresh cilantro
2 jalapeños chopped, or green bell pepper if you don’t want it spicy
1-2 tablespoons fresh lime juice
1/2 teaspoon salt, optional
Cut Sun Golds and Sweet Million tomatoes in quarters, then cut in half. *
Dice Juliets or romas.
Chop cilantro.
Add everything together in a 2-3 quart mixing bowl tossing until distributed equally. Toss fairly gentle so you don’t break down the tomatoes too much.
As a salsa it serves about 6-8. For a taco topping this will tap about 30 tacos.
Note:
I like to cut the cherry tomatoes in quarters then lay them skin side down in a row of four pieces and cut in half.


